
BECOMING A MEMBER MERCHANT
So you’re ready to jump on board, become a Price Setter Member Merchant and you want to know what’s the next step? We’re here to guide you through the process. Follow the instructions below and you’ll be on your way to Price Setting in no time!
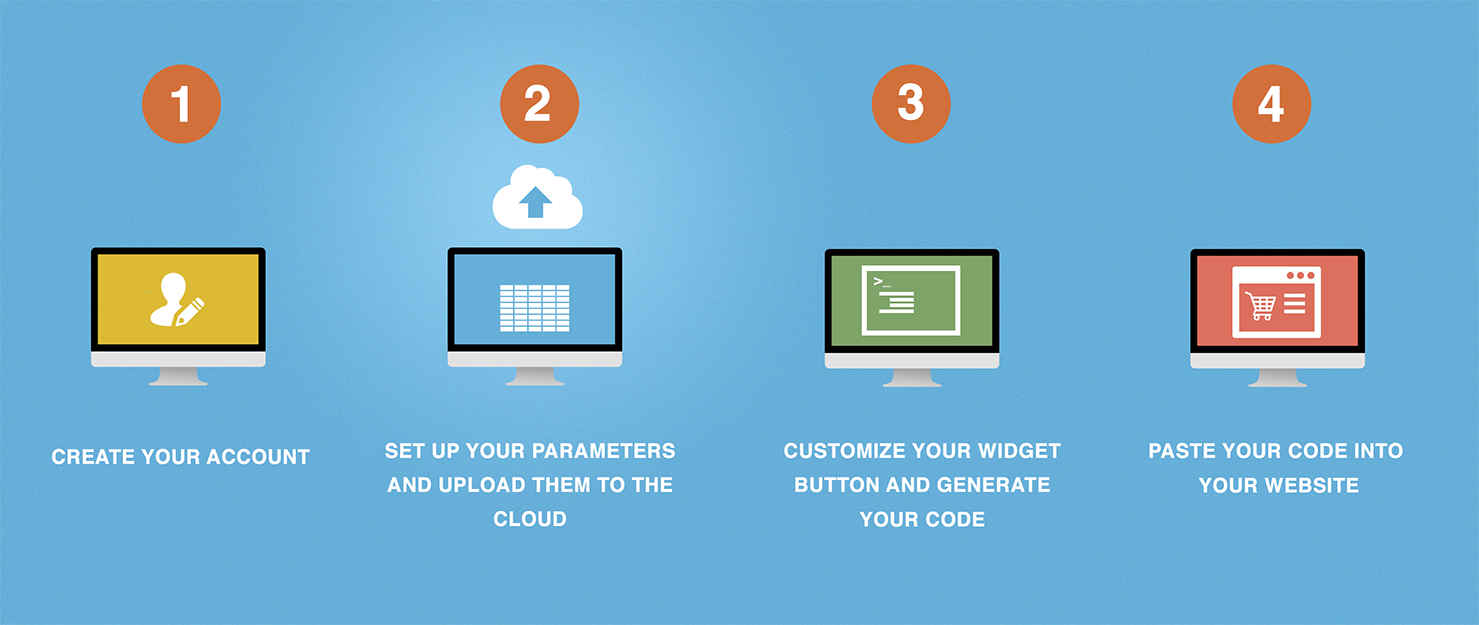
STEP 1
Create your account. Go to the Create Your Account page and fill out all of the required fields and click the Create Account button. You will get a confirmation email sent to you to verify your account registration. Please confirm your registration through the link provided in the email. *If you don’t get an email be sure to check your junk folder first before trying again. After you have confirmed your email, go ahead and sign in to your account using the User ID and Password you have just created. Remember, User ID’s and Password are case sensitive. Once you’ve signed in go ahead and set up your membership.
At this point you will be requested to chose your payment plan, only the Basic Plan is available at this time. This plan allows you to compete one-on-one (your dealership against a non-member merchant, a TrueCar certificate, a third party quote and the like). When the Pro Plan becomes available your store will be able to compete against multiple merchants one-against-many, members and non-members of Price Setter, locally or remotely.
STEP 2
After your membership and payment has been processed you will have access to your Merchant Control Panel. From here you can navigate to your Pricing Parameters, your Confirmation Numbers, generate your Widget Code, and more. Click on the My Account Information link in the Control Panel to access your Account Information page. You will need to complete this information page and update it before you can generate your Widget Code. Notice an Identifier Code has already been generated and granted to you. This Identifier Code is a unique code to your account that you will be using to access the cloud through your Widget. Next, navigate over to the Pricing Parameters Page to start setting up your parameters for your vehicles. Once you’ve completed them to your satisfaction, be sure to upload them to the database by clicking “submit”.
STEP 3
You’ve completed your Account Information and have set up your Pricing Parameters. Now you are ready to generate your widget code. Navigate to the Code Generator Page and begin customizing your widget. Choose form different colors, sizes and styles and remember to input your Identifier Code in the appropriate field before you generate your Widget. The code is the key to accessing your parameters through the cloud. Once you’ve generated your code, copy it to your clipboard.
STEP 4
You just created customized HTML code for your widget. The final step is to copy the code from this page and paste it into your website editor.
Copy the widget code:
1. Click Select Code.
2. Right-click and copy the selected code.
If you’re working with a website developer, you can paste the widget code into an email and send it to your developer now.
Paste the widget code in your website editor: The code must be pasted in the “code” view, where you can view and edit HTML.
1. In your website editor or admin page, open the page where you want to add your widget.
2. Look for an option to view or edit HTML.
3. Find the section of the page where you want your widget to appear.
4. Right-click and paste your widget code into the HTML.
5. Save and publish the page. (The preview function in your editor may not display the widget code correctly.)
6. Test the widget to make sure it links to the Price Setter cloud.